Fellow creatives will know that crafty tends to be synonymous with messy, so your girl needed to contain her creative activities within a confined space! If you’ve been following me for a while, either here or on TikTok, you may know that my home office was previously just a patch of wall in our apartment. (And I loved that wall – it was very cute, go see for yourself.)
However, 2024 is the year of painting, okay? It’s the year of clay, of oil pastels, of making a big old mess. So we really needed to be able to close a door on all those works in progress to make sure my boyfriend doesn’t feel like he’s living in constant chaos.
Enter: my new craft room/home office. As always, this room makeover is a work in progress, meaning I will update this post as I go. But I’ve got some real fun additions to share already, so let’s jump straight in!
Step 1 – A Big Declutter
The first (and arguably most important) part of this room makeover was to declutter the existing home office. Originally, this was my partner’s room but – due to a very busy Christmas – it got stuck in a weird limbo of having both of our crap for a few weeks.
Once the office was cleared out, I got to set up my standing desk! Moment of absolute appreciation for this beauty – I’ve been using it for coming up to two months now and I could not go back. Being able to easily sit and stand has been a lifesaver for my back. (25 really pulled no punches, huh?)

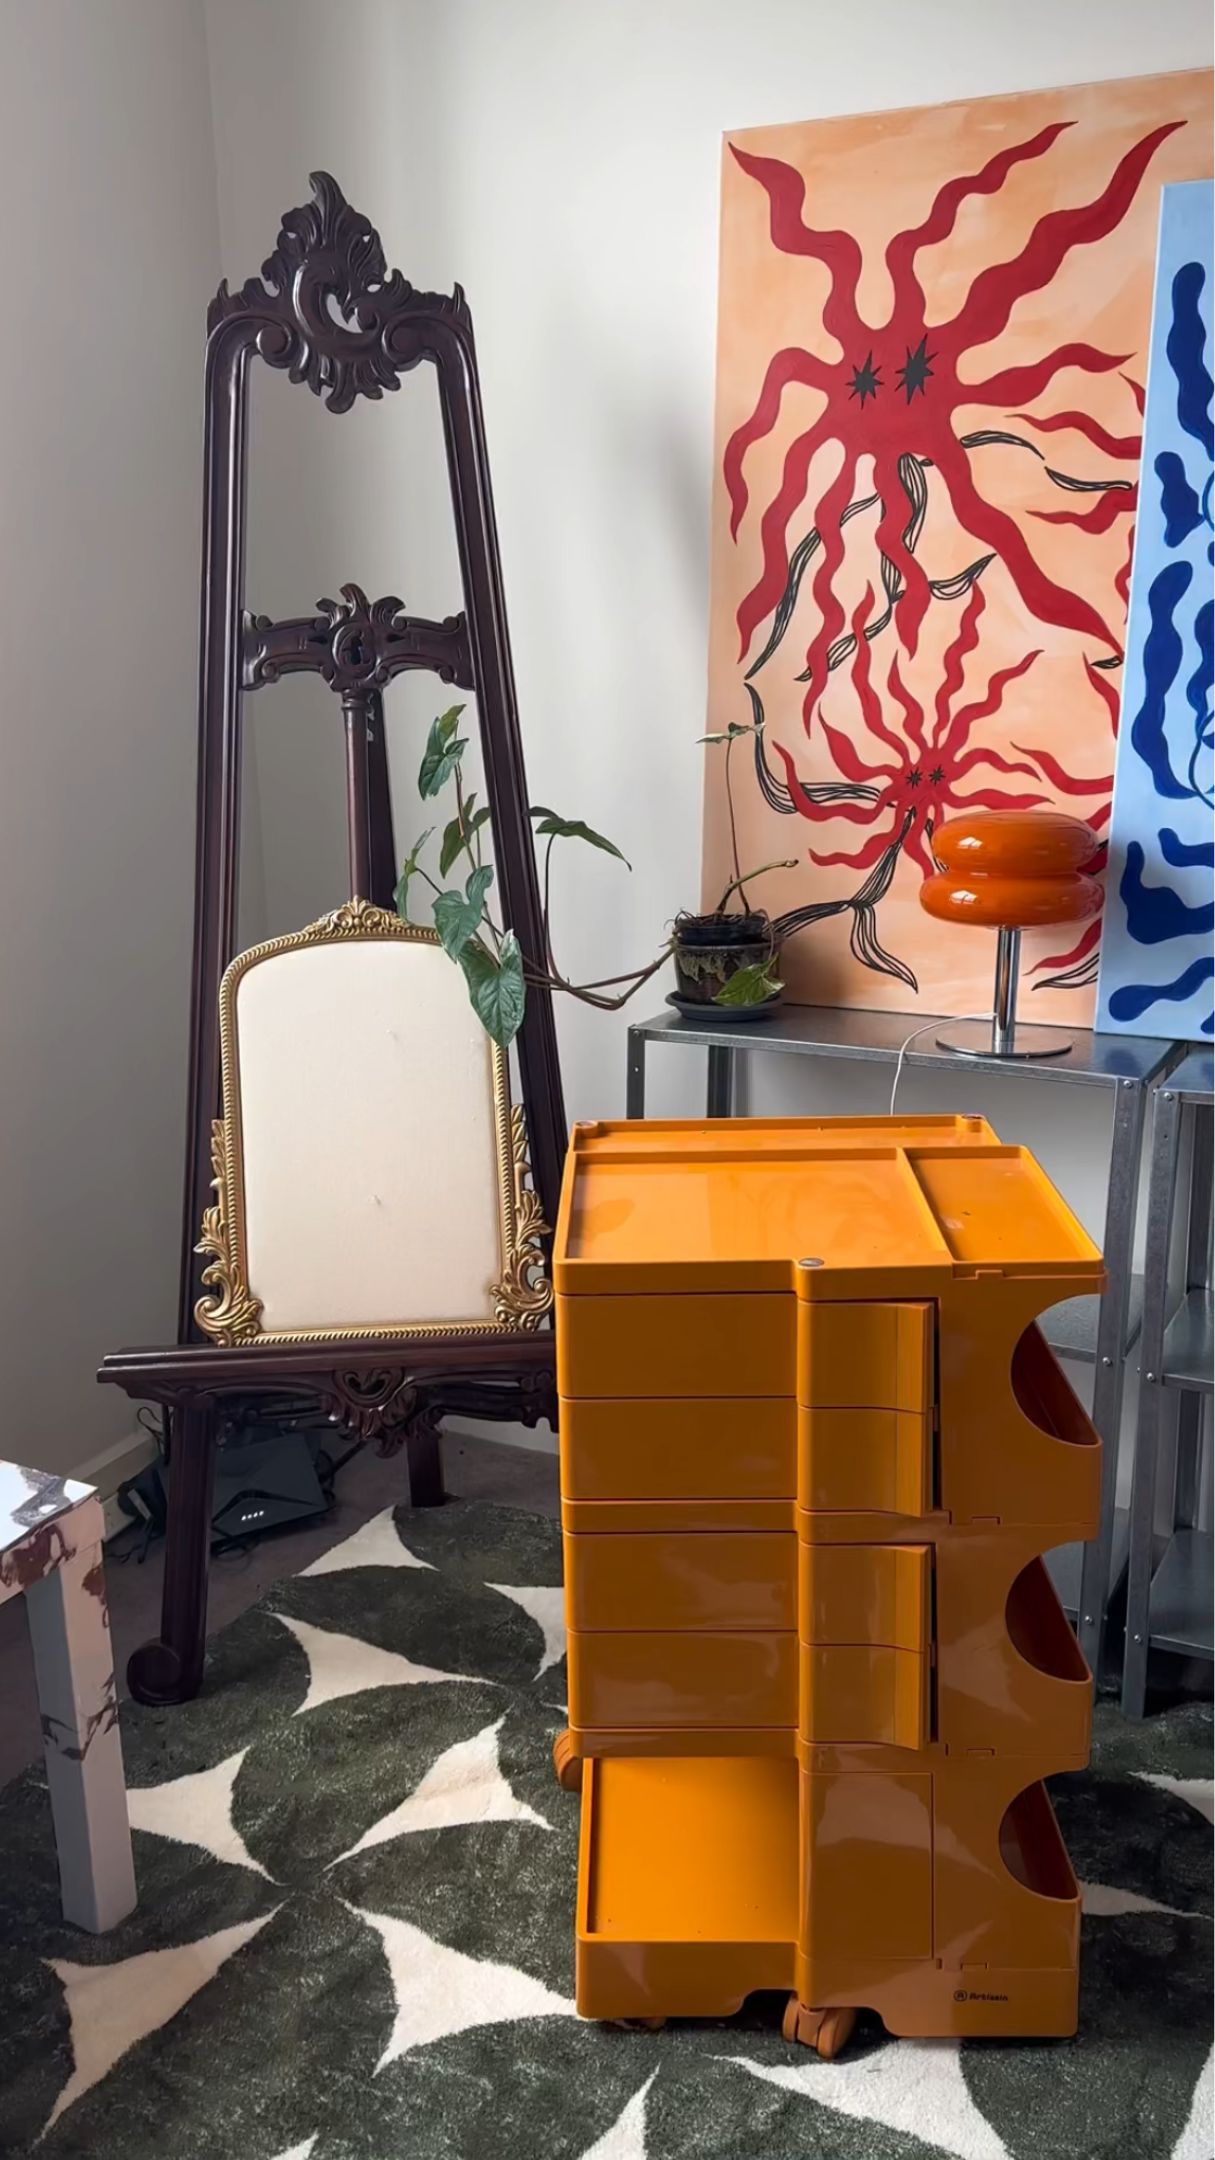
Step 2 – Adding An Easel
Admittedly, Boxing Day sales had a lot to do with the nonsensical order of this room makeover.
I am not exaggerating when I tell you that this easel had been on my wishlist for years. As a student, I honestly just couldn’t afford it but, seeing as my metaphorical balls are no longer in the Australian government’s vise grip, I decided to treat myself!
(Plus, it’s an incentive to make more art…right?)
Want to see out some of the “art” I’ve made so far? Check out my bedroom makeover post!
It’s a fun time
Step 3 – Funky Rugs Fix Everything
I hate carpet with an absolute passion. The top floor of our apartment is – thankfully – not carpeted but downstairs is full-coverage ugly grey. This, of course, meant I needed a big old rug to hide the damage.
My rug of choice? This adorable geometric green find! She was another sale steal too. (Can you tell I’m a big bargain hunter?)

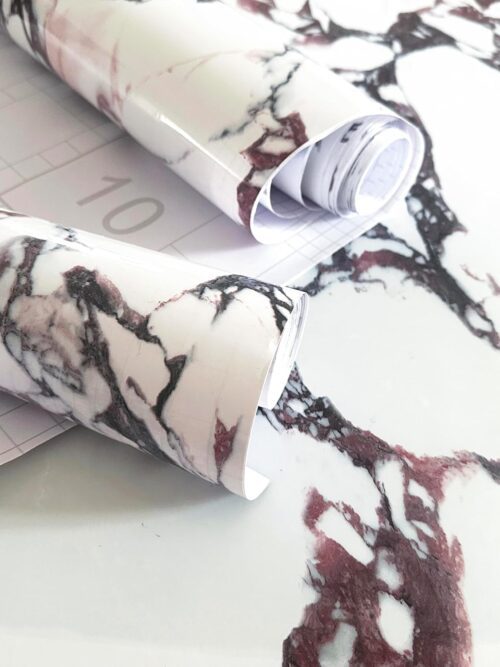
Step 4 – Upcycling An Old Table To Craft On
I absolutely love a good upcycle or repurpose – most things in my home have served as at least five other things at some point!
This IKEA Lack table has been with us for years and was completely battered. (Not to mention, not our vibe at all. I think it was actually passed down to us from our friends…A decent chunk of our furniture comes to us like that!)
Considering that it’d only get used for crafting and filming purposes, it seemed like a waste of money to do anything too fancy so I just used marble contact paper to spruce her up! I think it turned out really well!

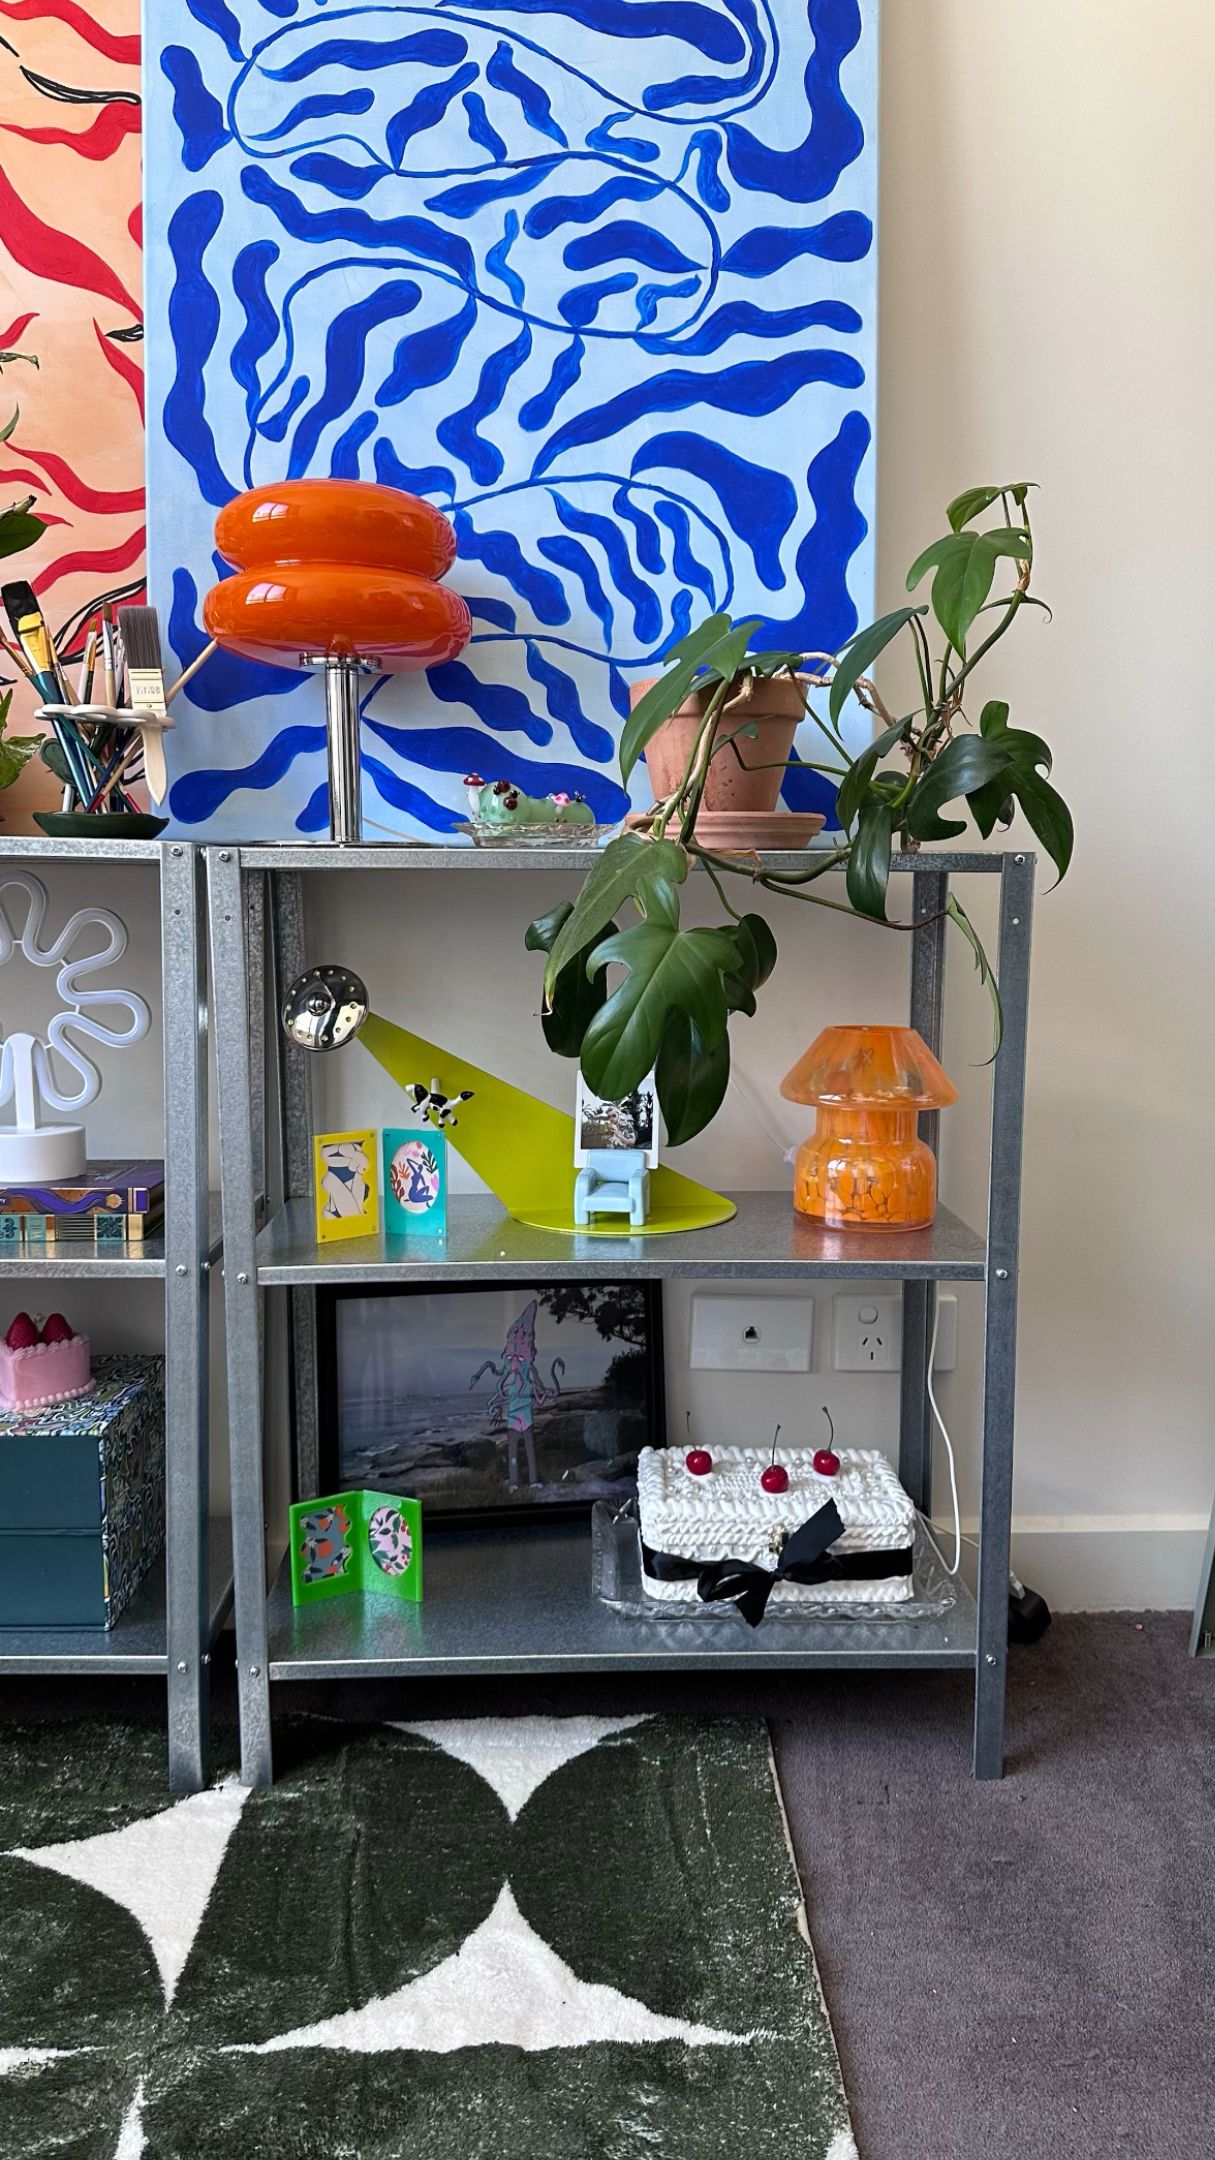
Step 5 – Adding Affordable Shelving
Next up, I just needed a little more storage – and IKEA totally had my back! The HYLLIS shelves were only $25 AUD each, plus they can be used indoor and outdoors so I can repurpose them in the future.
Already, these shelves have lived so many lives with extensive amounts of trinket changes and reshuffles. I’m still not certain on their final form but the shelves themselves? Those are absolute winners.
(And – let me repeat myself here – they were under $30!)
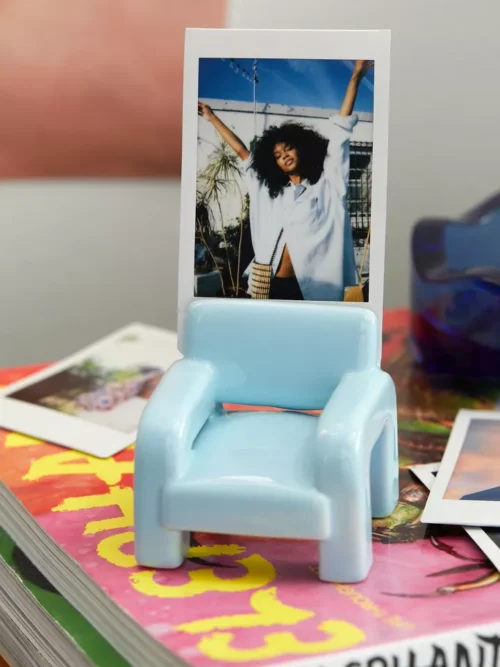
Step 6 – Treated Myself To Some Urban Outfitters Decor
I am firmly a “style and function” kind of girl. One cannot exist without the other in this household; I’m sorry, I don’t make the rules.
Urban Outfitters is one of my all-time faves for cute home decor so I had to pick up a few picks.

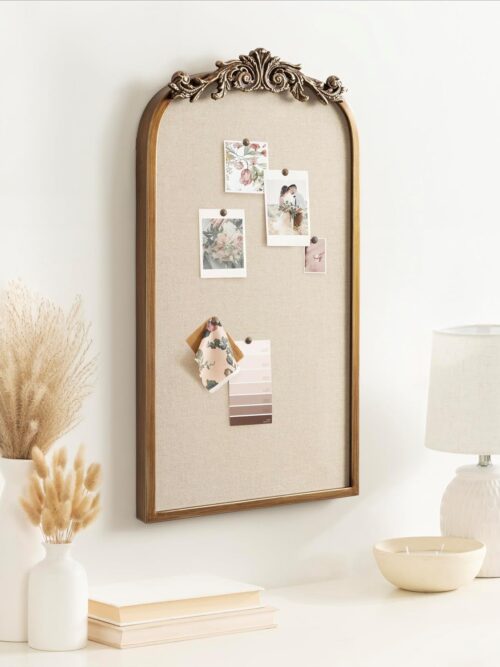
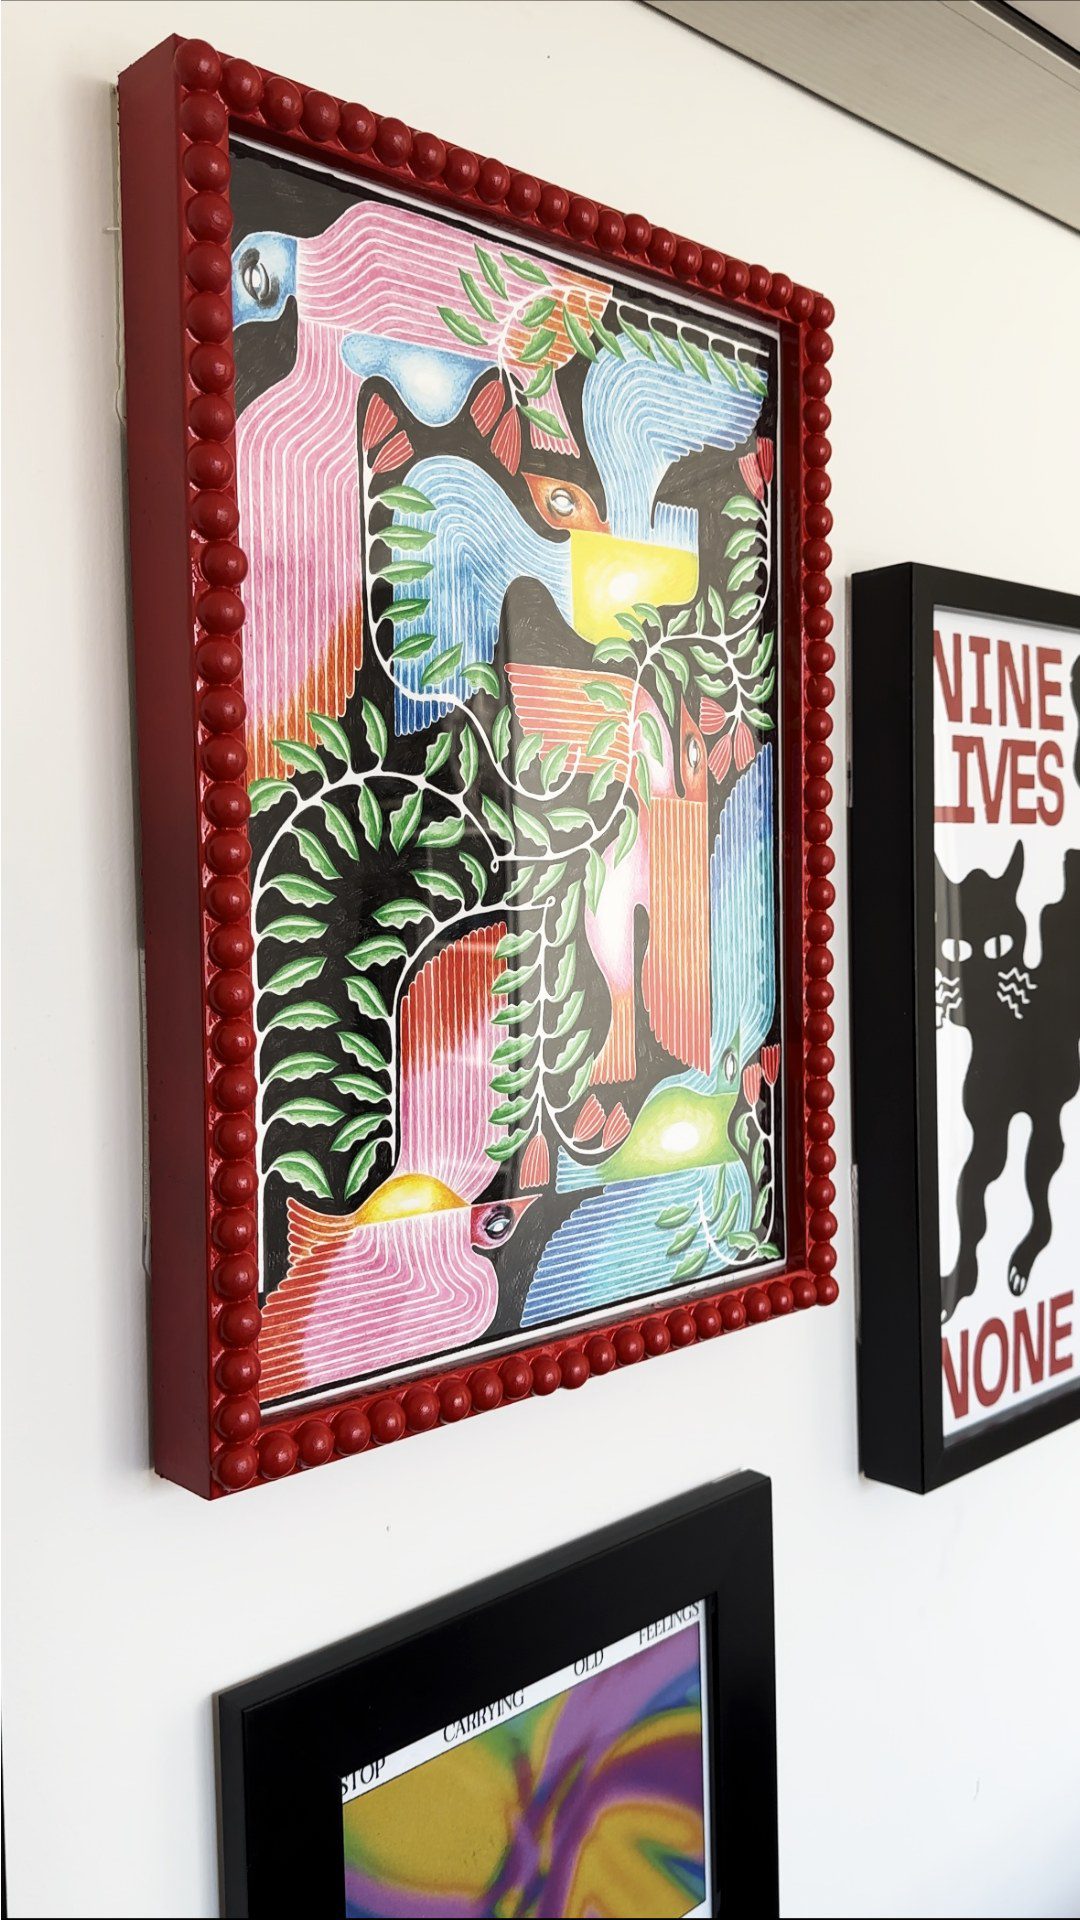
Step 7 – Setting Up My First Gallery Wall!
If there’s one thing you should know about me, it’s that I will put a gallery wall anywhere I can fit one. I love artwork, I feel like it’s so inspiring – especially in my workspace!
This wall is definitely not in its final phase but I simply could not look at a blank slate any longer. I’m just not strong enough.

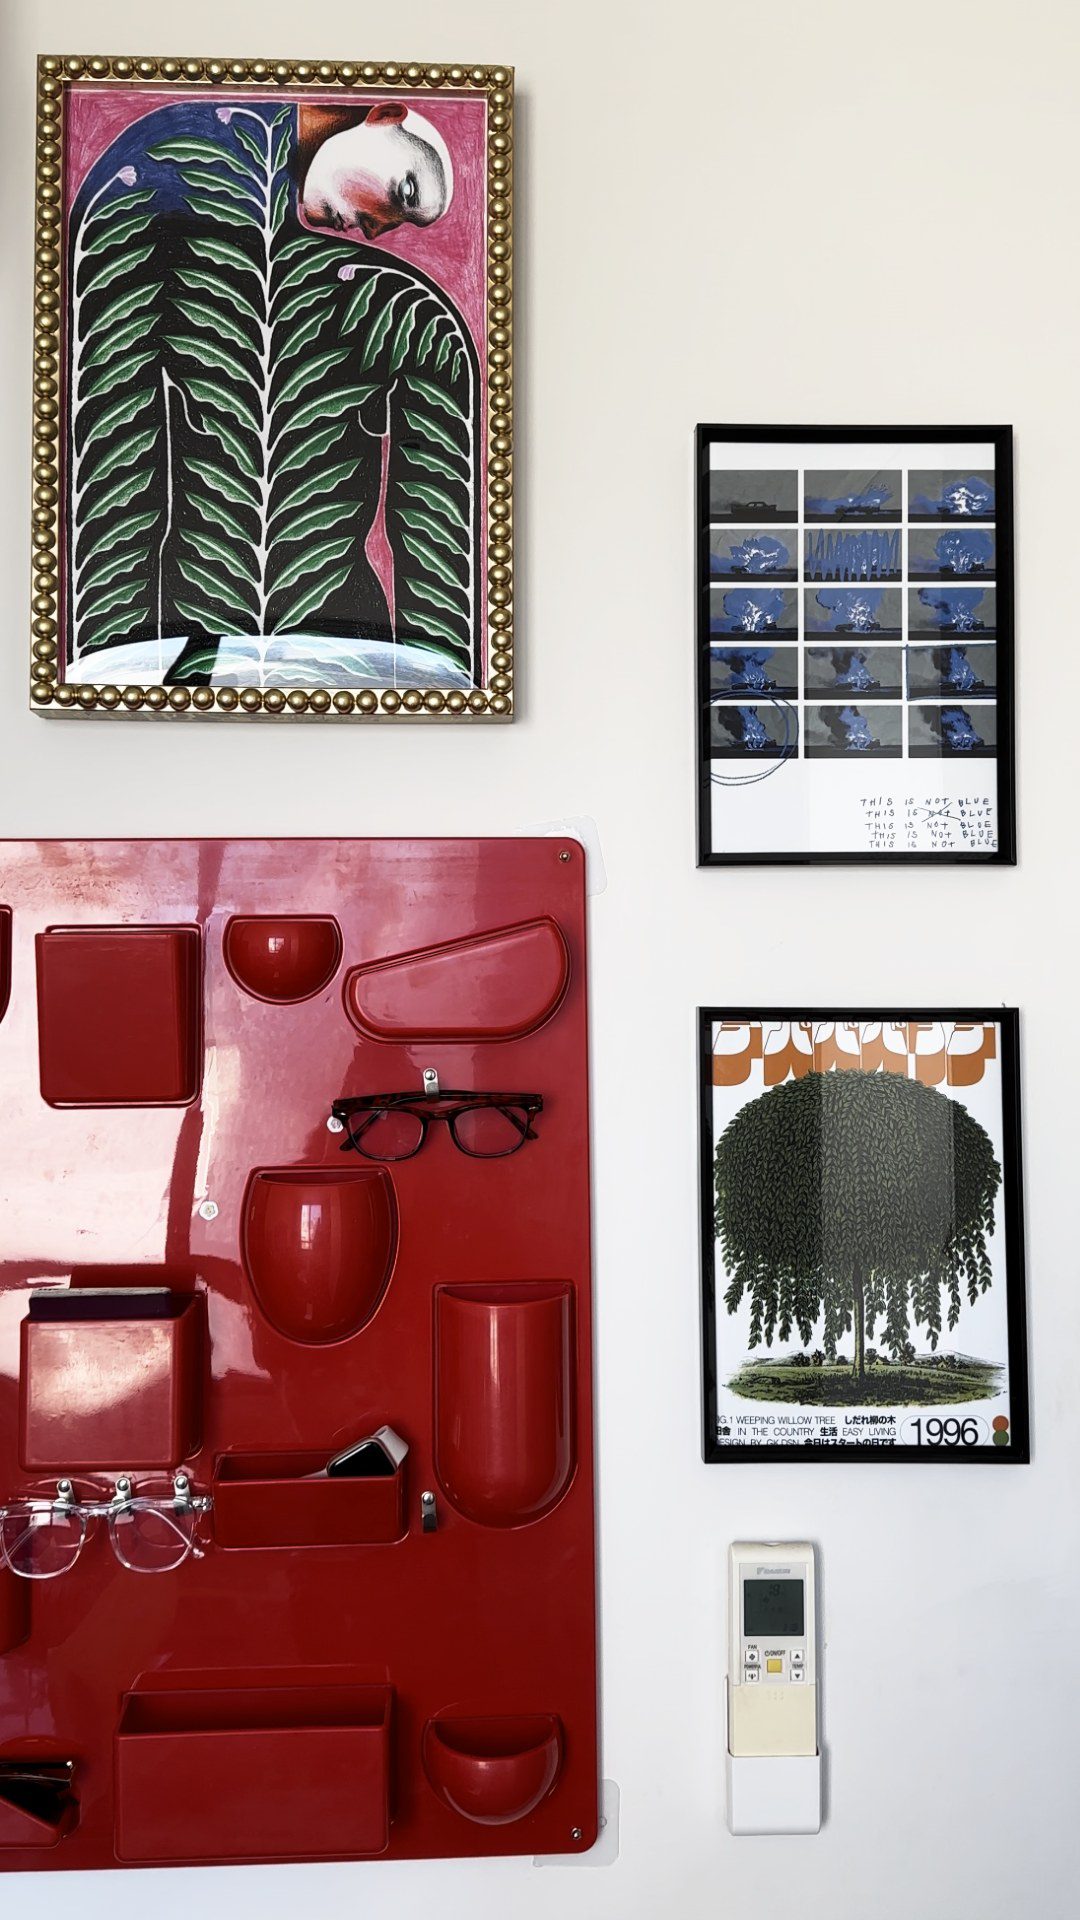
Step 8 – Displaying My *Trinkets* On My Gallery Wall
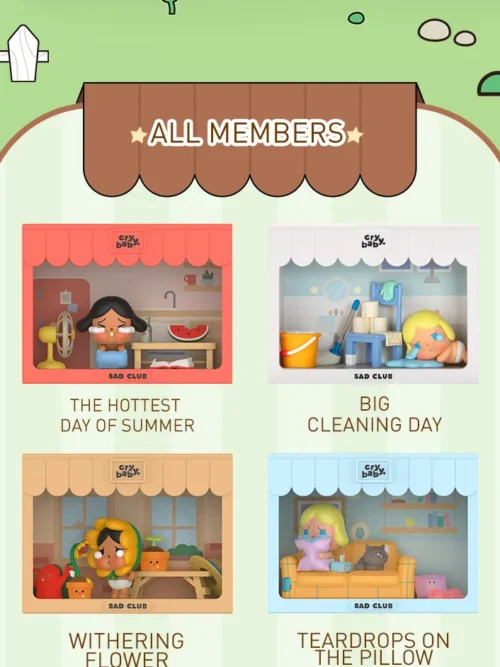
I cannot honestly explain the depth of my obsession with Crybabys. Genuinely. I don’t know where I’d begin.
As an ADHD human, I am always on the brink of crying – happy, sad, frustrated, “I saw a cute cat and remembered it will die one day” crying. All the above. So these mini figures are like crack to me – and I had to put this little blind box up on the wall!
Step 9 – Organising My Craft Supplies With Some Wooden Storage Drawers
Oh my goodness, I cannot even begin to describe how much I love these drawers. It’s a lot. It’s a whole lot.
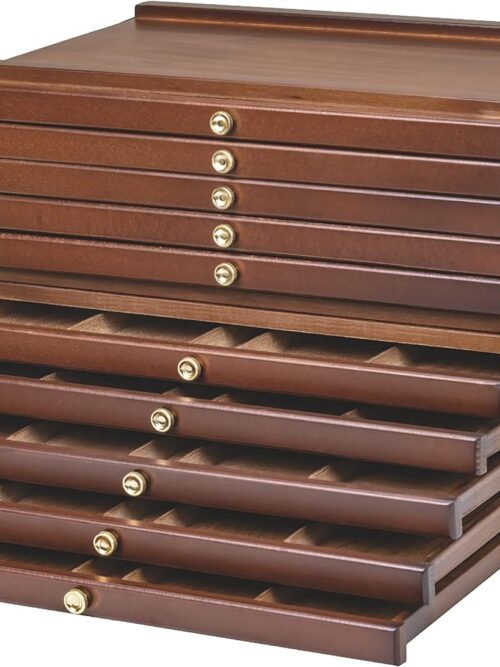
They look so high quality – and the space? There’s so much storage space, I’m utterly obsessed.
Previous Buys & DIYs From My Old Home Office
and some stuff I haven’t got around to filming yet
-
 Wood Desk Shelf/Monitor Riser
 -
 1pc Mobile Coffee Table Tea Table
 -
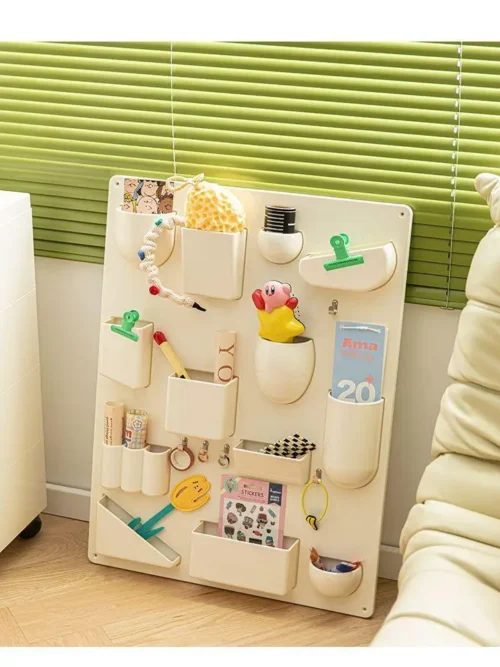 Nordic Wall Storage Rack Organiser
 -
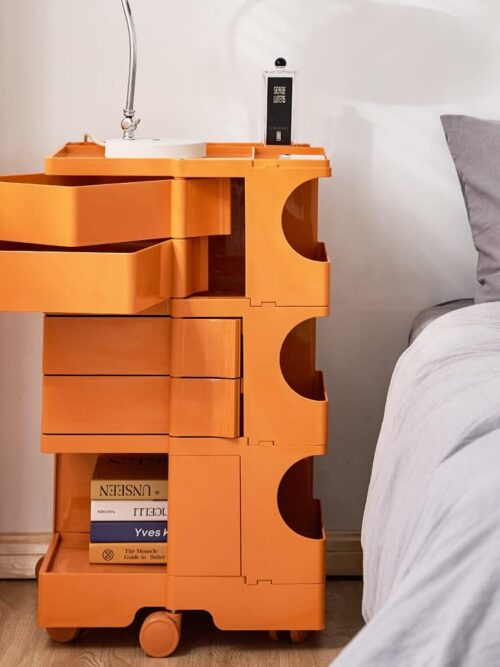 ArtissIn Replica Boby Trolley Storage Bedside Table Mobile Cart 3 Tier Orange
 -
 Artiss Ergonomic Office Chair Fabric Computer Desk Chairs with Tilt Adjustment and Adjustable Seat Height
 -
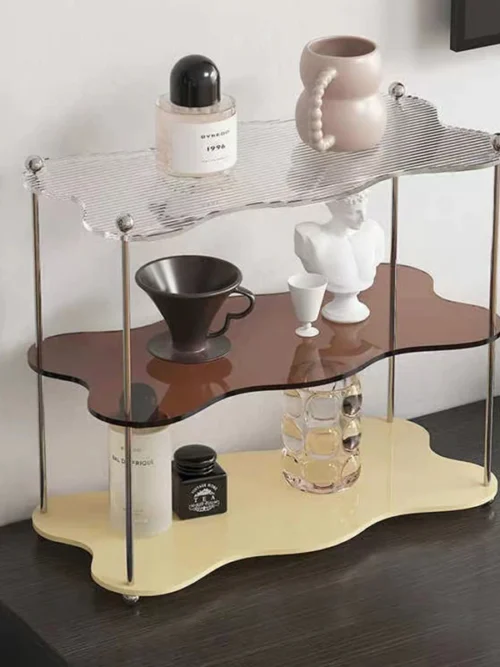 Triple Level Wavy Acrylic Organiser